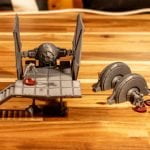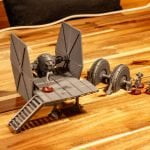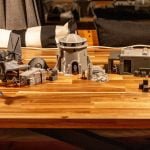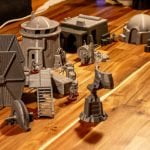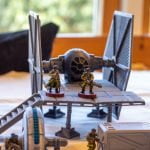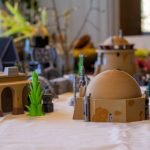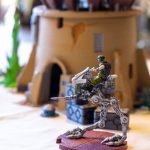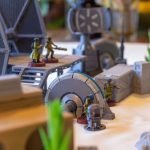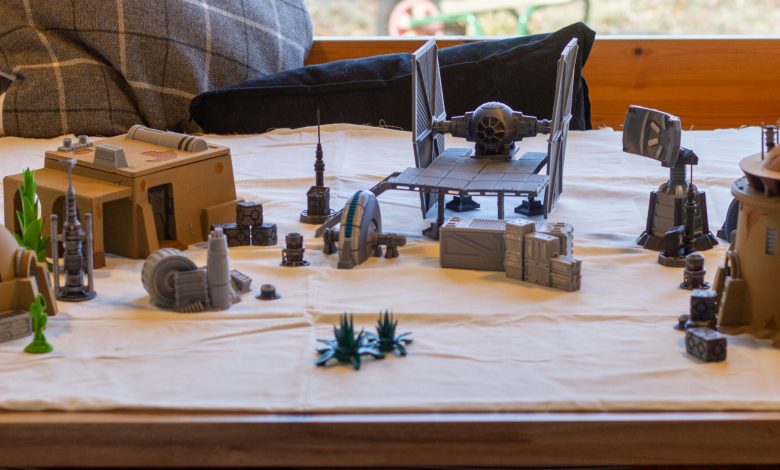
A Star Wars landscape on your table using a 3D printer
ein Gastartikel von Roberth Johanssons
Hin und wieder sehe ich spannende 3D-Drucke und rede mit den Machern, so auch hier. Roberth wollte unbedingt einen Artikel zu dem Thema veröffentlichen, daher sagte ich nicht „nein“ ich hoffe es ist okay, dass der Artikel in englisch verfasst wurde, eine Übersetzung werde ich in den kommenden Tagen nachliefern, aber seht selbst.
lest selbst:
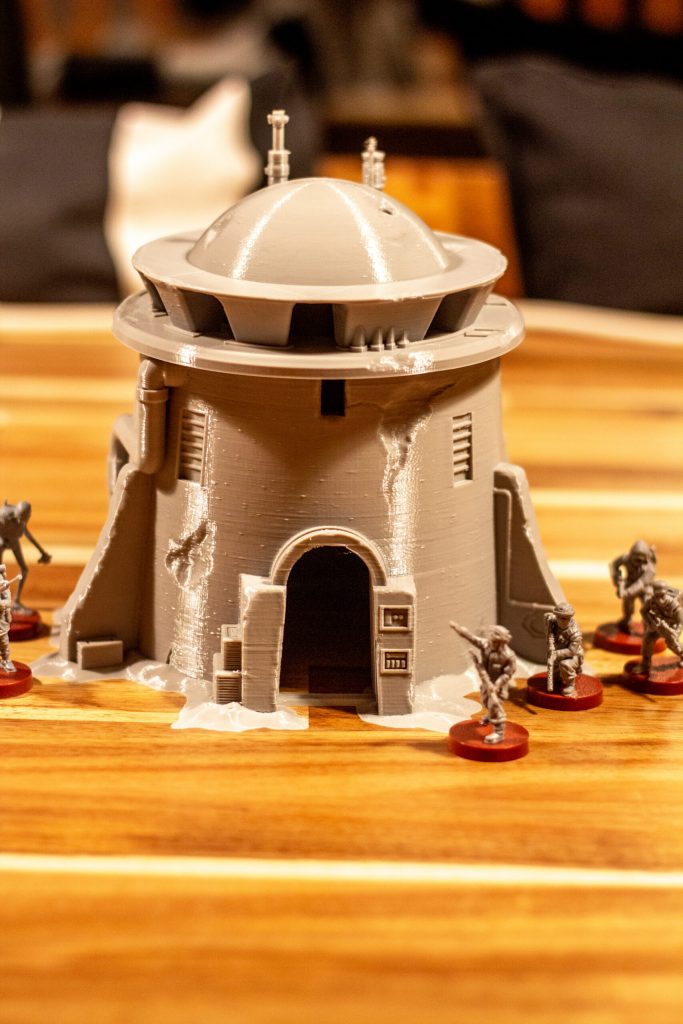
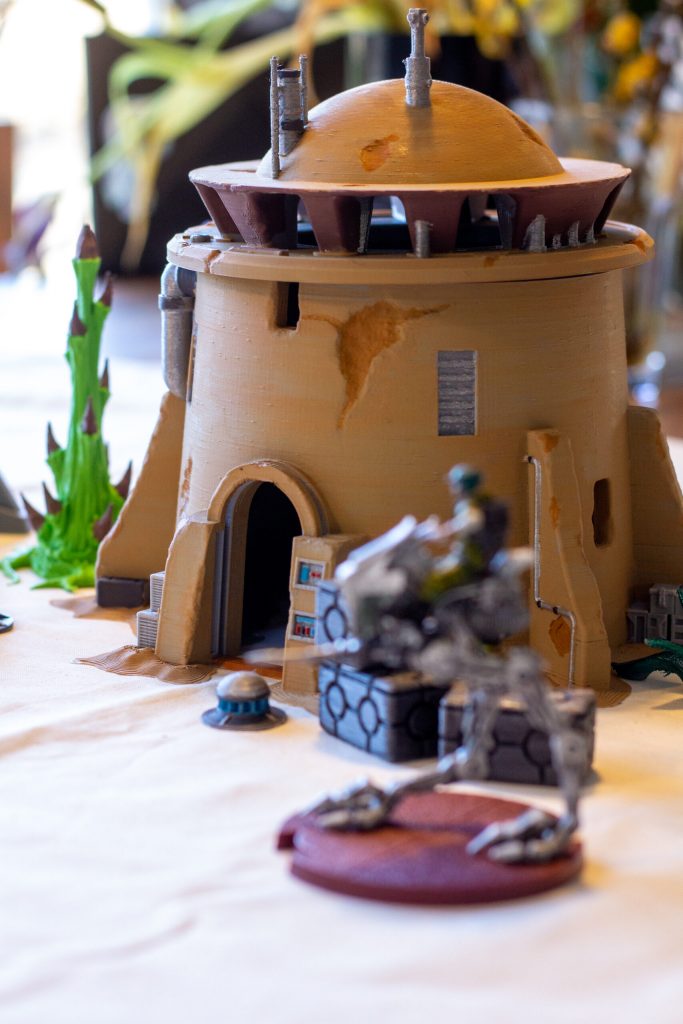
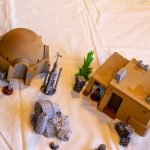
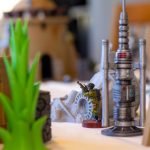
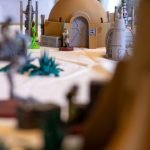
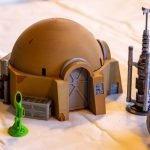
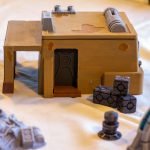
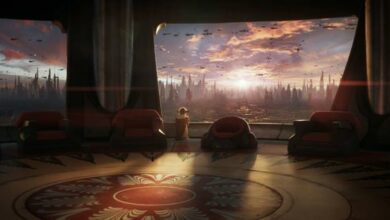
Get a piece of Tatooine on your table. Recreate the action from A New Hope, The Mandalorian or Book of Boba Fett using only a 3D printer and some paint.
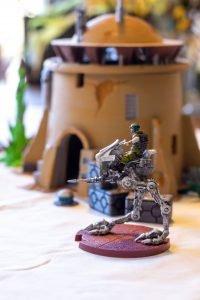
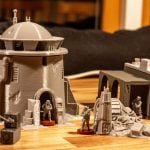
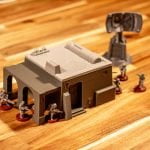
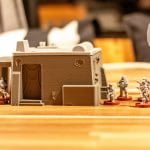
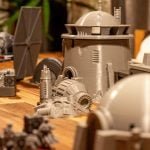
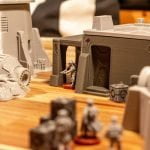
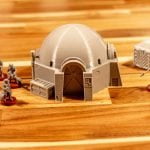
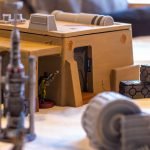
This Tatooine inspired landscape was made for the Fantasy Flight Games / Atomic Mass Games miniatures board game Star Wars: Legion and because of that, it’s all scaled for 32mm miniatures.
Printing
Things You’ll Need
- 3D Printer: All prints were printed on the new Anycubic Kobra Max and the large build volume (40cm * 40cm * 45cm) of that printer was greatly needed for the buildings, link to that printer at the end. Other FDM printers can of course be used.
- Filament: The material used was PLA as it’s an easy material to work with both during and after printing, as it prints well on most printers and easily can be sanded and painted. The PLA used here is also from Anycubic.
- Slicer: Ultimaker Cura was used to slice and make the models ready to print.
Find models
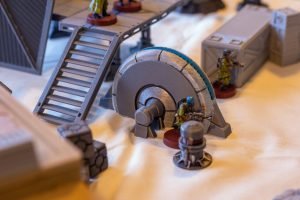
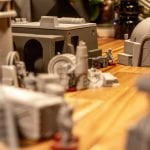
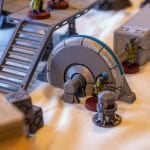
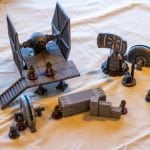
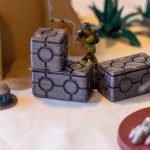
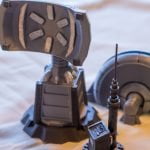
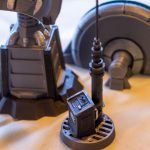
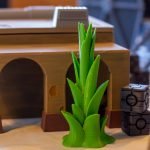
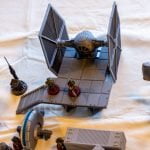
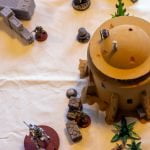
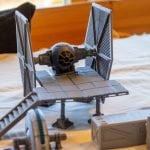
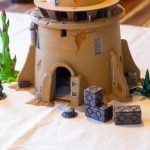
Several types of models were used to make a more believable scene. Big buildings and structures to get a sense of a large environment, smaller bits and bobs like moisture vaporators, shield generators, communications towers, crates and containers as scatter terrain to make it feel used and lived in as well as plants to get more colour into the landscape.
Models to print can be found at designer specific sites as their own websites and Patreons or on larger libraries (also called repositories) with models from many different designers like Thingiverse, MyMiniFactory, Printables etc. The models and STL files used in this project are from Imperial Terrain, Thingiverse and Printables/Prusa Prints (list of all used models and creators at the end).
Printing the models
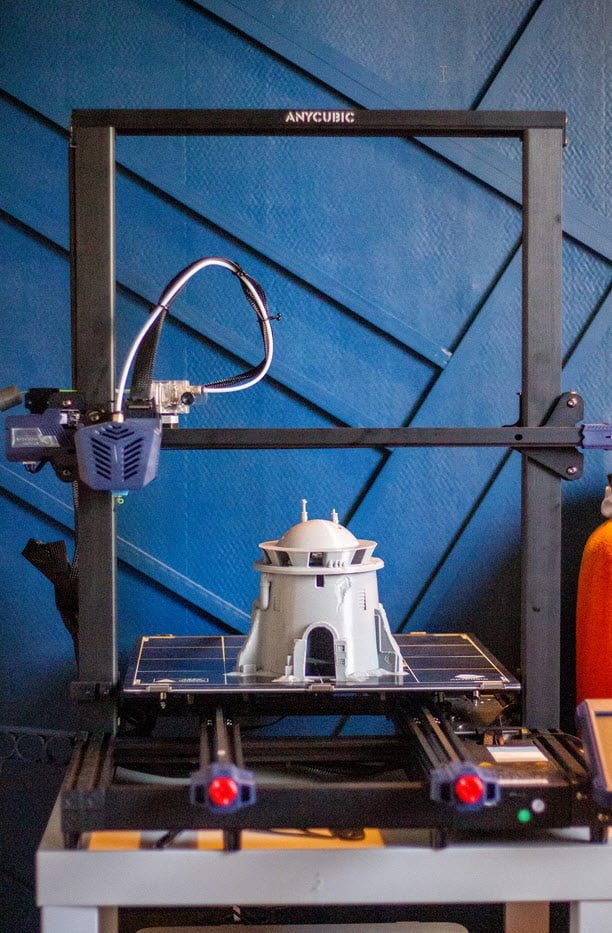 Once downloaded the models were prepared and sliced in the Ultimaker Cure software. Many 3d printer companies supply printer profiles for slicer software for their printers. That makes it much simpler to get good settings and then good print quality. On this printer, a profile for Ultimaker Cura was on the supplied microSD card. Use that, to begin with.
Also, the model supplier might have some recommendations for print settings for the specific model, like with or without supports, kind of bed adhesion and so on. Add those settings to the printer-specific profile.
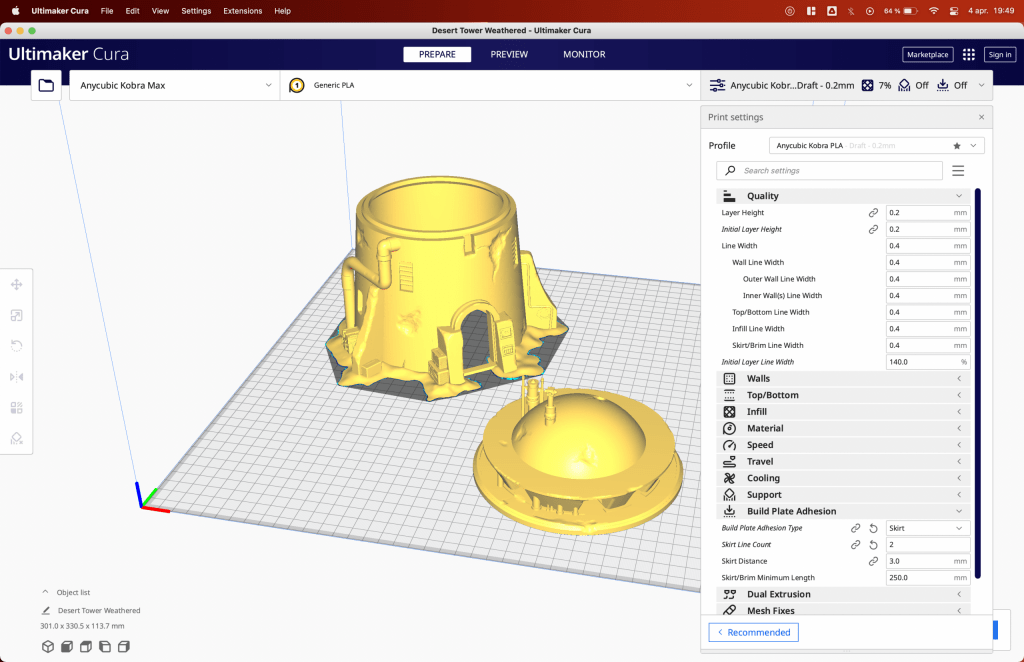
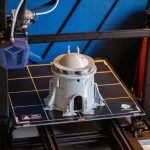
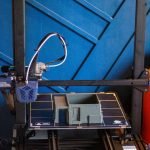
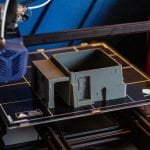
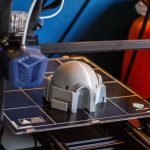
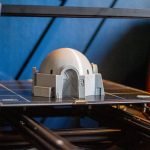
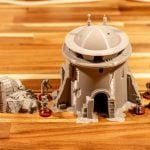
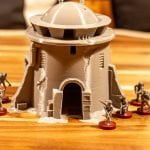
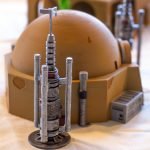
As the build plate was so large the building models could be printed whole. Especially for the main tower, the height of the printer was of great importance, even though the printer can print much taller objects. The roofs of the buildings are printed separately in order to be removable for the purpose of the game, so the figures can move inside. The different parts of the structures took between 11-17 hours to print and that was no problem for the Kobra Max.
Printing several of the smaller models at the same time makes the process much simpler.
Painting
The prints look great right out of the printer, but a few simple coats of paint makes a huge difference. Don’t be scared of this step, as it actually is much like colouring and painting in colouring books. Just pick sections of the print that are divided by “lines” and paint them in a certain colour.
One simple trick to use to make it look more realistic is to use a metallic paint for metal objects like panels, pipes, crates and the like. Those colours give it a bit of a shine and make it look more real. So there’s no other skill or ability to learn, just use another colour then paint as before.

Setup
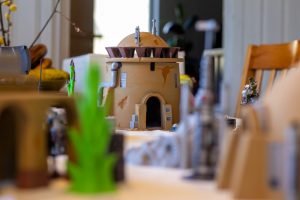
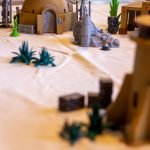
Once printed and painted, place them all on a table. One trick here is to take a sand coloured piece of cloth and place the prints on top of that to make it look like they are on sand. It’s ok, even prefered, that the cloth isn’t ironed out flat, as the folds, wrinkles and creases make it look more believable as sand and small sand dunes.
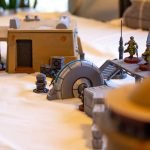
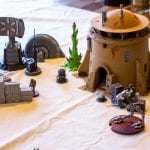
When you place the structures, bits and bobs, scatter terrain and plants try to think of how it would be positioned if people lived there with crates scattered, where plants would grow etc. But also to make the game fair with equal opportunities for cover for both players.

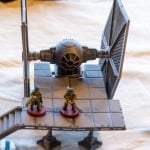
And all of a sudden you have Mos Eisley on your table gaming out the last battle of the Book of Boba Fett using only your 3D printer and some paint.
Links
- Anycubic Kobra Max – https://bit.ly/3IC3RfS
- Building models – by Imperial Terrain – https://imperialterrain.com/collections/stls-for-star-wars-legion-terrain/products/desert-standard-terrain-bundle-digital-stl-files
- Desert house – by Imperial Terrain – https://www.prusaprinters.org/prints/805-32mm-desert-house-terrain-for-wargames
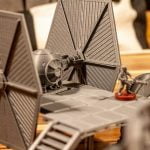
- Tie Fighter Landing Pad – by Camburu – https://www.thingiverse.com/thing:4497191
- Shield Generator – by Legione – https://www.thingiverse.com/thing:2501530
- Comm Tower – by Sablebadger – https://www.thingiverse.com/thing:2857993
- Communication Tower – by eternal3lade – https://www.thingiverse.com/thing:2984821
- Moisture Vaporator – by Sablebadger – https://www.thingiverse.com/thing:2856961
- Crates – by GauvainG – https://www.thingiverse.com/thing:2841076
- Alien vegitation – by GrimGreeble – https://www.printables.com/model/33119-tabletop-plant-alien-vegetation-01
- Agave plant – by GrimGreeble – https://www.thingiverse.com/thing:3207840
- Tree Agave – by GrimGreeble – https://www.thingiverse.com/thing:3303620
- Rhododendron Nostril – by GrimGreeble – https://www.thingiverse.com/thing:4518152
More Pictures:
Falls ihr mit Roberth in Kontakt treten wollte, könnt ihr das hier:
Websites
-
speedhoc.com (Unternehmenswebseite)
-
exploding-art.com (Unternehmenswebseite)
-
exploding-art.com/portfolio.html (Portfolio)
